H2Osolutions FL I Plumbing Services | Best Miami Plumber
 (786) 627-94-72
H2Osolutions FL I Plumbing Services | Best Miami Plumber
(786) 627-94-72
That incessant drip-drip-drip of a bathroom faucet is more than just an annoyance; it's a sign that a critical component has failed. In most modern faucets, the culprit is the cartridge, the internal mechanism that controls water flow and temperature. The decision you face - whether to attempt a repair or perform a full cartridge replacement - depends on the nature of the failure. This guide will help you diagnose the problem, understand your options, and walk you through both paths, empowering you to silence the drip for good and restore peace to your bathroom.
Before you pick up a tool, it's crucial to understand what a faucet cartridge does and why it fails. This knowledge is key to making an informed decision between repair and replacement.
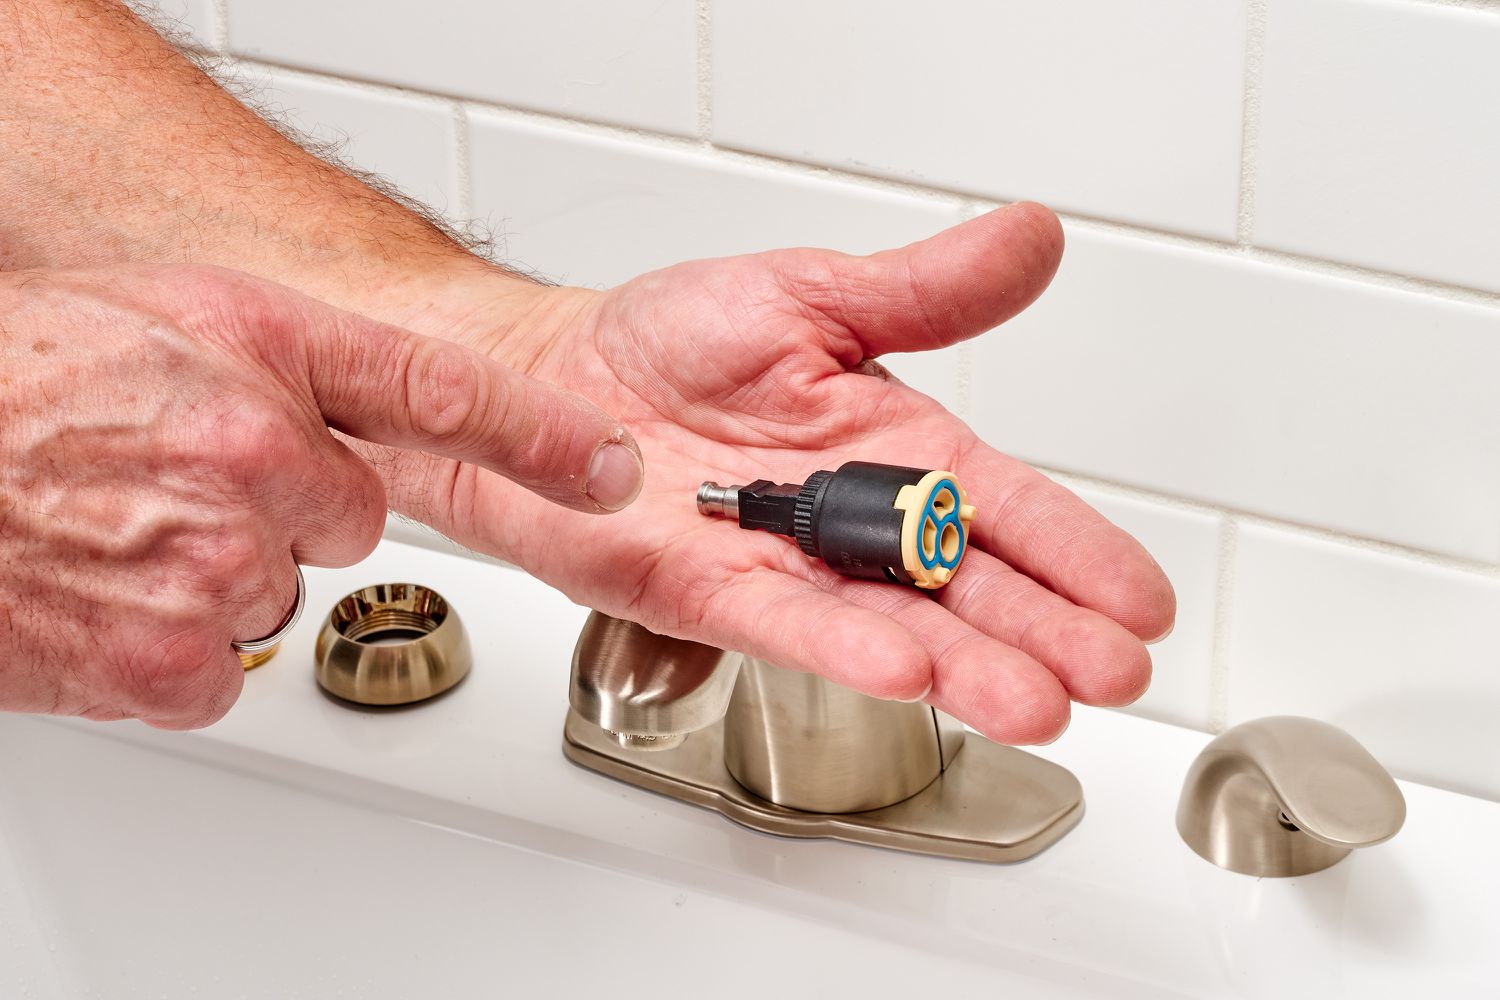
The cartridge is the brain of your single-handle or two-handle faucet. When you move the handle, you are either rotating or lifting the cartridge inside. This action aligns openings within the cartridge to allow hot and cold water to mix in precise proportions and flow out of the spout. Ceramic-disk cartridges use two incredibly flat ceramic plates with holes that slide over each other, while older styles may use rubber seals and springs. Any wear or debris within this mechanism leads to the common problems homeowners face.
Several factors cause a cartridge to fail. The most common is simple wear and tear. Over thousands of cycles, rubber O-rings and seals can degrade, leading to leaks from the base of the handle. Mineral deposits from hard water (limescale) can build up inside the cartridge, causing it to stick, resulting in a stiff handle operation or incomplete shutoff, which manifests as a constant drip. Finally, corrosion of internal metal parts can cause whistling or chattering sounds and further impede smooth operation. Diagnosing which of these issues is present will guide your next step.
The choice between a simple repair and a full cartridge replacement often comes down to the type of damage, the cost, and the age of the cartridge.
If the primary symptom is water leaking from the base of the handle rather than a drip from the spout, the issue is often limited to the O-rings on the cartridge's exterior. In this case, a repair is highly feasible and cost-effective. If you can successfully remove the cartridge and find that the main body is intact but the seals are worn, purchasing an inexpensive repair kit (which contains new O-rings and seals) is a smart choice. This approach is ideal for those who are comfortable with DIY tasks and want to minimize repair cost.
A full cartridge replacement is necessary when the internal mechanisms are damaged. Key signs include a persistent drip from the spout even when the handle is fully off, indicating the ceramic disks or seals inside the cartridge are worn and can no longer form a watertight seal. If the cartridge is cracked, visibly corroded, or if the handle won't turn at all, repair is not an option. For older faucets where the cartridge has been in service for many years, a full replacement is often more reliable than a repair, as other internal parts are likely near the end of their lifespan.
Weighing the cost is straightforward. A repair kit with new seals might cost a few dollars, while a new cartridge, especially an OEM (Original Equipment Manufacturer) part from brands like Moen or Delta, can range from $15 to $50. However, the cheaper repair is only a good value if it solves the problem. If the cartridge itself is failing, the repair will be temporary at best. When in doubt, replacing the entire cartridge is the more comprehensive and reliable solution, offering greater reliability and peace of mind.
Proper preparation is the key to a smooth and successful project. Taking the time to identify the correct part and gather the right tools will prevent frustration.
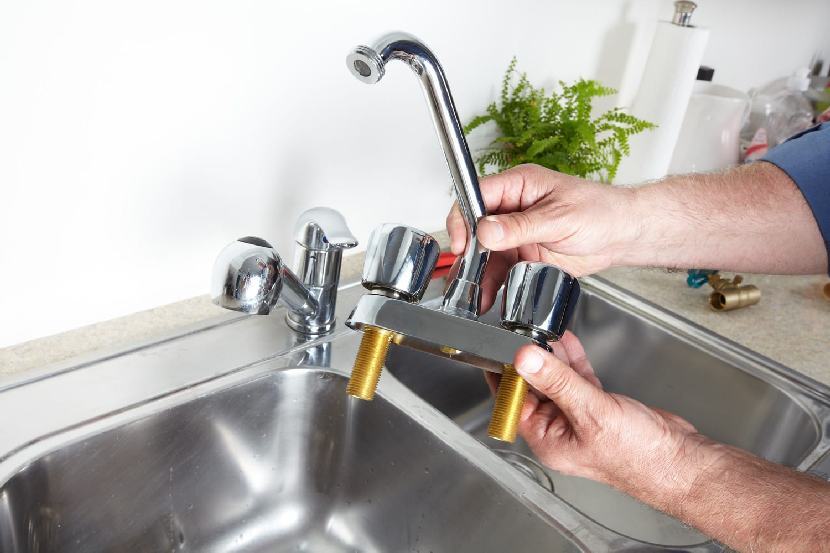
The most critical step is identifying your faucet's brand and model to ensure parts compatibility. Look for a brand name (e.g., Kohler, Delta, Grohe) on the faucet itself. Sometimes, you may need to remove the handle to find a model number stamped on the cartridge. Take this information to a plumbing supply store or search online. Using an OEM cartridge is highly recommended for a perfect fit, though generic brands like Danco can be a good cost-effective alternative for common models.
You don't need an extensive toolbox for this job. Essentials include:
If you've diagnosed the issue as faulty seals, follow this path for a repair.
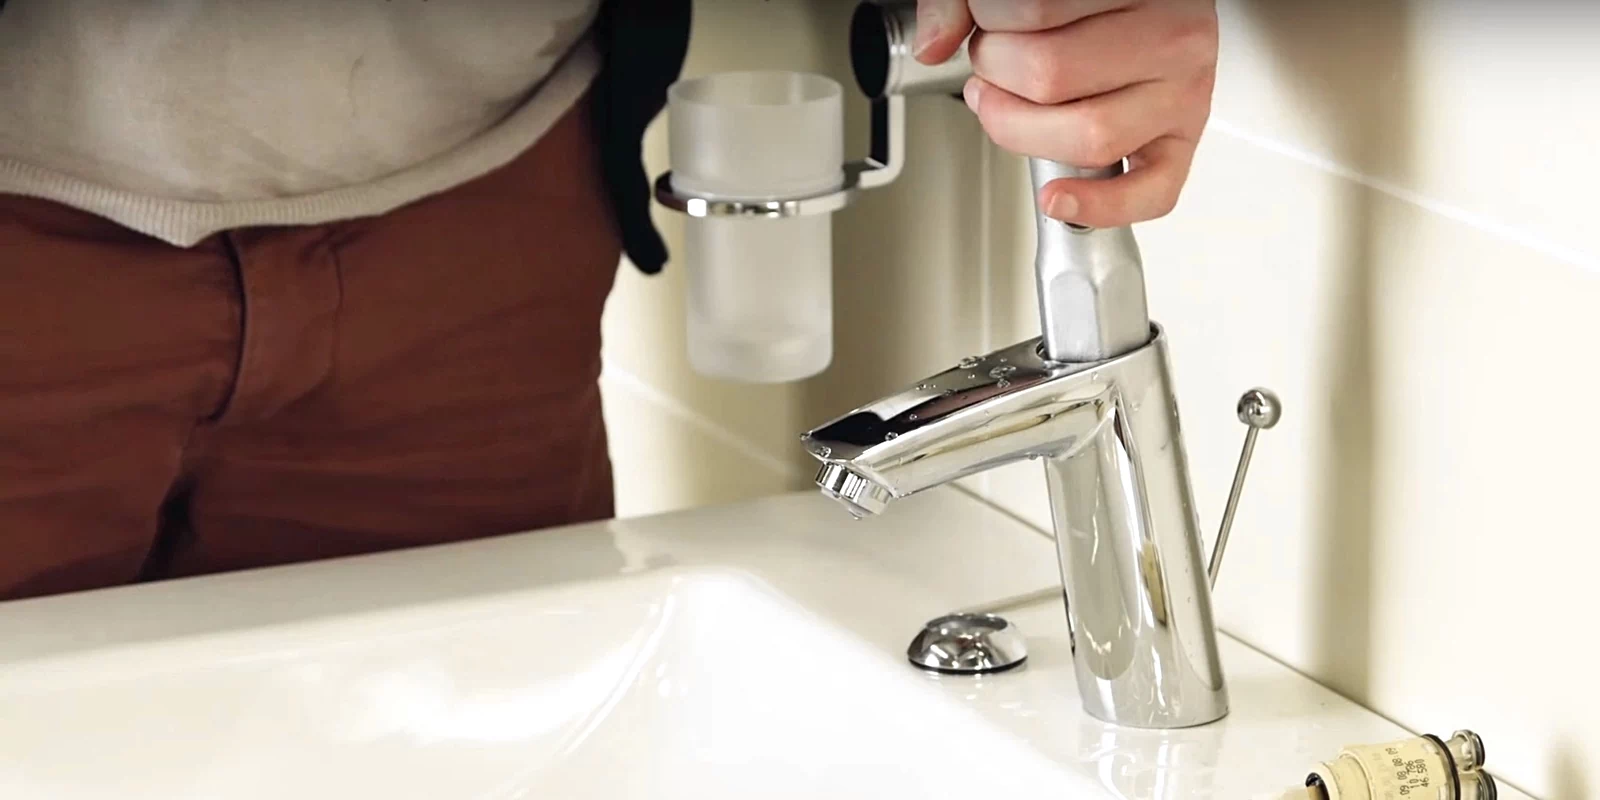
First, turn off the water supply valves under the sink. Open the faucet to relieve pressure. Locate and remove the handle's set screw (often hidden under a decorative cap). Gently pull the handle off. You will now see the cartridge, held in place by a retaining nut or clip. Use your tools to carefully remove this retainer. It's crucial during disassembly to avoid using excessive force that could damage the faucet body.
Carefully pull the cartridge straight out. Inspect it for cracks or heavy corrosion. If it seems salvageable, note the arrangement of the old O-rings. Gently remove the old, worn seals. Soak the cartridge in vinegar to dissolve any limescale. Once clean and dry, lubricate the new O-rings from your repair kit with silicone grease and install them in the correct grooves. This seal replacement can restore the watertight seal without needing a new part.
If the cartridge is damaged, replacement is the only option.
After disassembly, you may find the old cartridge is stuck due to mineral buildup. Do not pry on it, as this can break the faucet body. This is where a cartridge puller tool is invaluable. It threads or grips onto the cartridge and uses a screw mechanism to apply even, pulling pressure to extract it safely. If you don't have a puller, gently rocking the cartridge with pliers while pulling may work, but this carries a higher risk of damage.
Before installing the new cartridge, clean the inside of the faucet body to ensure no debris remains. Insert the new OEM or generic cartridge in the exact same orientation as the old one (take a photo before removal for reference). Reinstall the retaining clip and nut. Press the handle back on and tighten the set screw. The final step in the installation is to turn the water supply back on slowly and check for leaks during reassembly.
The job isn't complete until you've verified everything works perfectly.
With the water supply restored, slowly open the faucet. Check carefully around the base of the handle and the spout for any sign of a leak. If you see a slight weep from the handle, you may need to tighten the retaining nut a little more. Ensure the handle moves smoothly and the drip is completely gone.
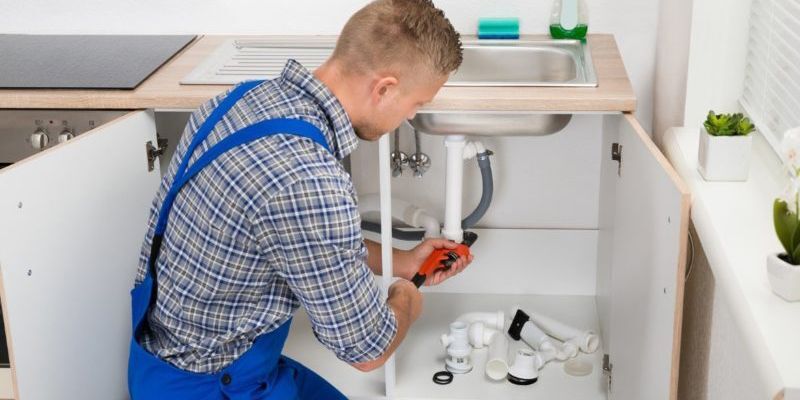
If the drip persists after your repair or replacement, there are a few other culprits. In compression faucets (less common), the issue could be a worn washer. In some cases, the problem isn't the cartridge at all, but a worn valve seat inside the faucet body that the cartridge seals against. This would require a special valve seat wrench to replace. If you've exhausted these options, it may be time to consult a professional plumber.
Tackling a dripping bathroom faucet by addressing the cartridge is a highly satisfying DIY project that saves water, money, and your sanity. By systematically diagnosing the problem, choosing correctly between repair and replacement, and following careful steps during disassembly and installation, you can achieve a professional result. The silence of a successfully fixed faucet is a testament to your effort - a small but significant victory in maintaining your home. Enjoy the quiet and the satisfaction of a job well done.