H2Osolutions FL I Plumbing Services | Best Miami Plumber
 (786) 627-94-72
H2Osolutions FL I Plumbing Services | Best Miami Plumber
(786) 627-94-72
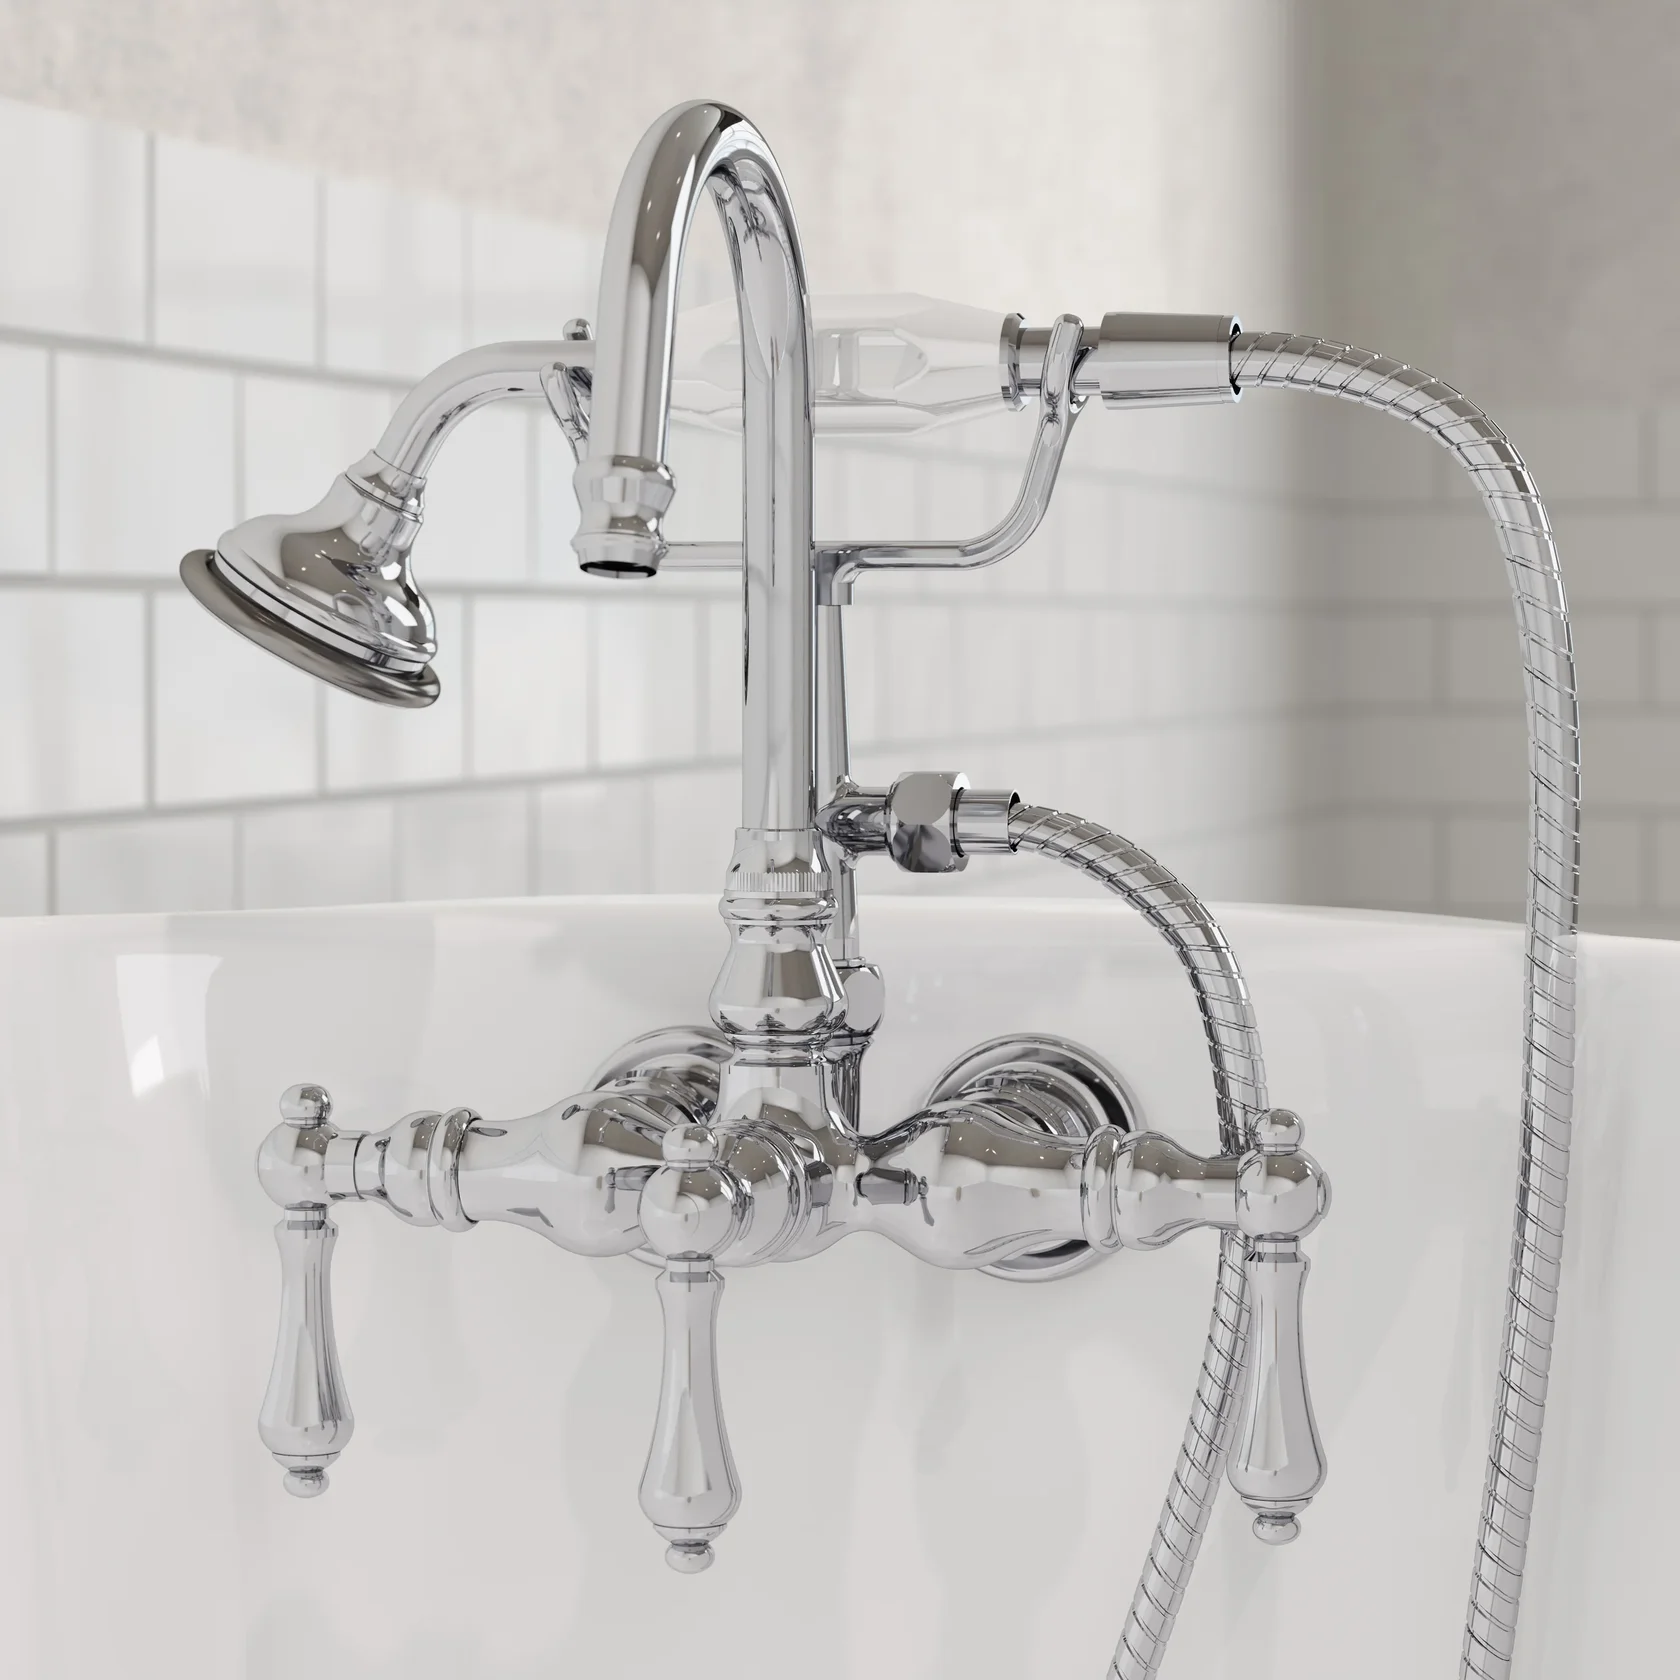
Before you pick up a wrench, it's crucial to decide on the best path forward for your specific situation. A knee-jerk reaction might be to install a brand-new fixture, but that often strips the room of its character.
Restoration is almost always the preferred choice for purists and those living in historical homes. A fully functional original faucet maintains the bathroom's historical integrity and can significantly increase the property's value. The patina - the gentle wear on the chrome or nickel finish - tells a story. Removing it completely can make the fixture look oddly new and out of place. Furthermore, the solid brass construction of most vintage faucets is often superior to many modern alternatives, meaning a proper restoration can provide decades more of reliable service.
There are scenarios where replacement is the only viable option. If the faucet body is cracked, has significant internal corrosion that compromises its structure, or if critical parts are simply impossible to find, a full replacement may be necessary. In this case, seek out high-quality reproduction faucets from specialized brands that meticulously replicate the styles and finishes of the originals.
A brilliant middle ground is the hybrid approach. This involves keeping the original external handles and spout but updating the internal valve mechanism. Companies offer conversion kits that replace old rubber washers with modern ceramic cartridges. This upgrade offers effortless operation and superior drip-resistance while maintaining the classic look from the outside. It’s the perfect blend of old-world aesthetics and new-world reliability.
A successful restoration begins with careful planning and diagnosis. Rushing in without a plan can lead to damaged, irreplaceable parts.
Start by identifying your faucet. Look for any markings on the handles, escutcheons, or the main valve body. Common original manufacturers include Crane, Kohler, and American Standard. Knowing the brand and model is essential for sourcing parts correctly. Take clear photographs from all angles and consult online resources, specialized plumbers, or historical forums for help with identification.
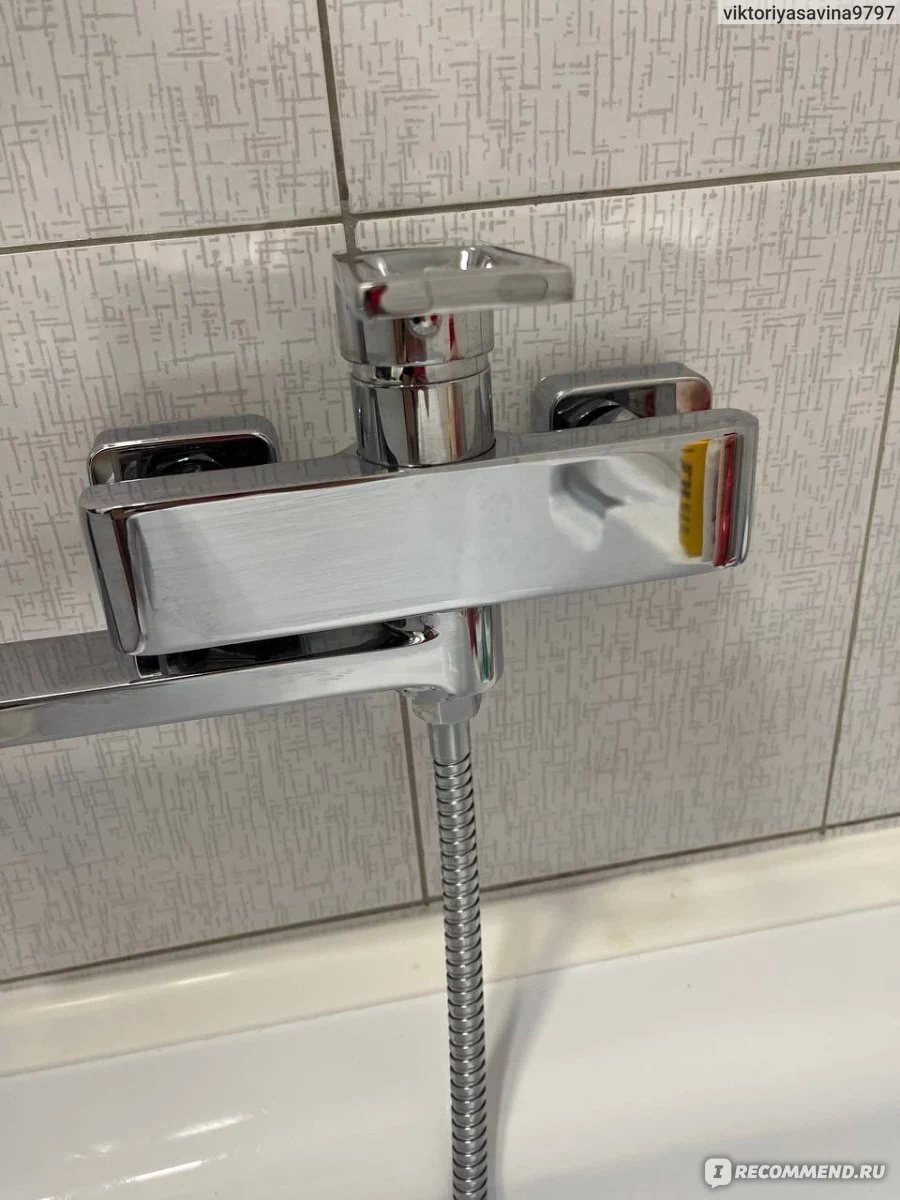
The most common issues are leaks and low water pressure. A dripping spout usually points to worn washer on the stem seal. Leaking handles indicate that the gland packing needs replacement. Low pressure can be caused by blockages from mineral deposits or corrosion inside the pipes or the faucet itself. Understanding the symptom helps you target the repair.
Once identified, you can begin sourcing parts. Specialist companies like Vintage Tub & Bath or Renovator's Supply are excellent starting points. For truly obscure items, you may need to scour online marketplaces or work with a machine shop to fabricate a custom part. Always have the parts on hand before starting the disassembly.
Patience is the most important tool in this phase. Decades of mineral buildup, corrosion, and old plumbing tape can "freeze" components together. Rushing this process is the single biggest cause of damage to irreplaceable parts.
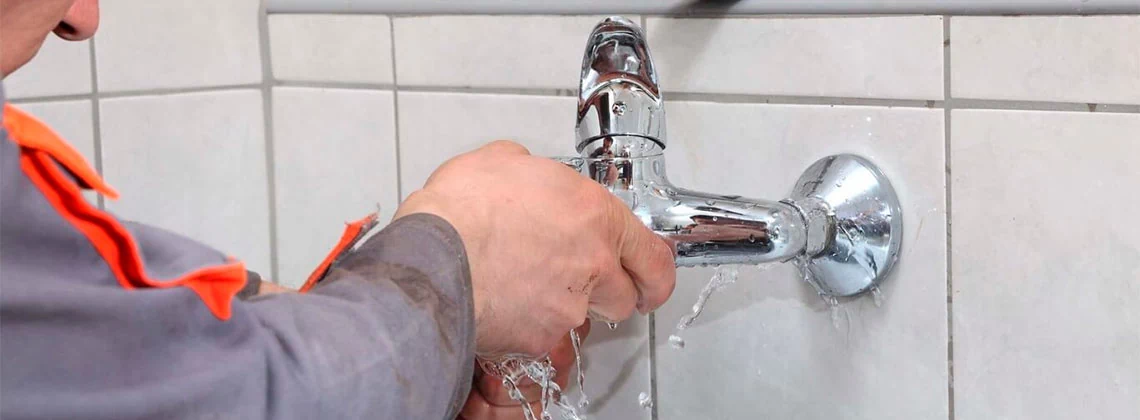
Before touching any nuts or bolts, always start by shutting off the water supply at the main stops for the tub. Open the faucet handles to release any residual pressure. The key to successful disassembly is using the correct tools. You will likely need a set of screwdrivers (including flat-head for set screws), an adjustable wrench, and Allen keys. Soak every connection point with a penetrating oil like Liquid Wrench or PB Blaster, allowing it to seep in for at least 30 minutes - overnight is even better for stubborn fixtures. When loosening nuts, use a steady, controlled force rather than a sudden jerk. If a part won't budge, tap the wrench gently with a rubber mallet to shock the connection loose without stripping the metal. Be extra careful with porcelain handles; they are brittle and can crack if pried or forced. The goal is methodical persuasion, not brute force.
Once fully disassembled, you can assess the cleaning required. For general grime and light limescale, a bath in warm water with a mild dish soap is the safest starting point. For moderate mineral deposits, white vinegar is a highly effective and non-toxic solution. Submerge the parts in vinegar for a few hours, then scrub gently with a soft-bristled brush (an old toothbrush is perfect). For heavy rust and corrosion, you have two main paths. Chemical cleaning with a commercial, non-acidic rust remover designed for vintage metals can work well, but always test on a small area first. For the most severe cases without damaging original finishes, electrolysis is a superior method. This process uses a low electrical current in a electrolyte solution to break down rust at a molecular level, leaving the base metal (like brass) untouched. It requires specific equipment but is the gold standard for safe, thorough rust removal.

With all components clean and inspected, you've reached the core of the restoration: making the faucet functionally sound. This is where you address the root causes of those annoying leaks and dripping.
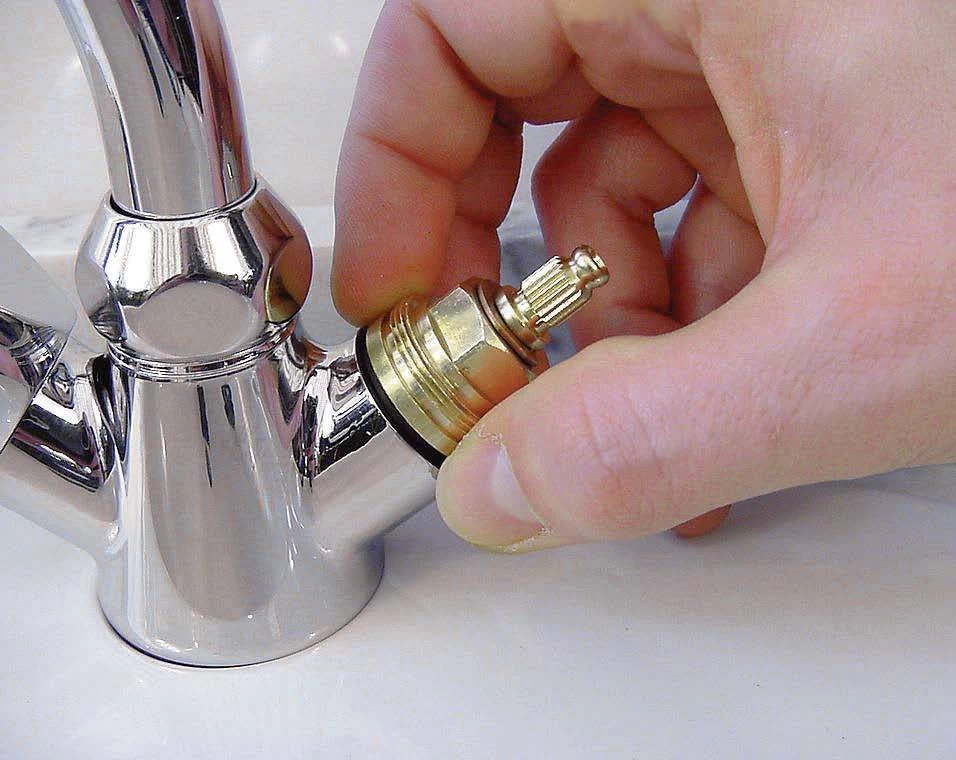
The vast majority of leaks in vintage faucets are cured by replacing two simple components: the washer and the gland packing. A dripping spout is almost always caused by a worn-out rubber or leather washer at the end of the stem that seals against the valve seat. Carefully remove the old washer, clean the stem, and install an exact replacement. Leaking handles, where water seeps out from around the stem when the water is on, indicate worn-out gland packing. This is a braided rope-like material that fits into a packing nut. Carefully extract the old, hardened packing and replace it with new, pliable gland packing material. These two fixes are simple, inexpensive, and restore 90% of the faucet's functionality.
This is the critical decision between pure authenticity and modern convenience. Conversion kits replace the entire internal stem assembly with a new mechanism that uses ceramic cartridges. The external handles and spout remain original.
The choice is yours. For a tub used daily, the modern cartridge upgrade is a fantastic hybrid approach. For a period-correct restoration in a guest bathroom, sticking with traditional washers honors the original design.
A functioning faucet is the goal, but a beautiful one is the prize. This step is about reviving the vintage charm without making it look unnaturally new.
The goal is to enhance the patina, not erase it. Avoid aggressive metal polishes or power tools. Start by washing the parts with soap and water. For polishing, use a cream-based polish specifically designed for chrome or nickel and a soft, non-abrasive cloth. Apply in a gentle, circular motion. The aim is to remove surface tarnish and minor scratches, not to grind down the metal. For stubborn spots, a paste of baking soda and water can be used as a gentle abrasive. After polishing, rinse thoroughly and dry completely to prevent new water spots. This process will bring back the brilliant luster while leaving the gentle, character-giving wear in the crevices.
If the existing finish is flaking off, has extensive pitting, or is completely worn through to the base metal, polishing won't be enough. In these cases, re-plating (or re-chroming) by a professional is the only option to restore the original appearance. This is a multi-step electrochemical process that strips the old finish and applies new layers of copper, nickel, and finally chrome. It is a significant investment but can make a heavily damaged faucet look brand new from the factory. This is the recommended path for high-value faucets or when the existing finish is beyond salvage.
The final stage is a reverse of the disassembly process, but with a focus on creating a perfect, leak-free seal.
As you reassemble, lubricate all moving threads with plumber's grease or silicone lubricant. This ensures smooth operation and prevents galling. When reinstalling stems, use new washers and carefully tighten the packing nuts - overtightening can damage the new gland packing and make the handles difficult to turn. Reattach porcelain handles with care, ensuring set screws are snug but not over-tightened. The entire process should feel deliberate and precise.
Before mounting the faucet back onto the tub, it's wise to perform a preliminary leak test. Have a helper turn the water supply on slowly while you observe the reassembled faucet. Check for any drips at the connections you've worked on. Once confirmed dry, carefully position the faucet on the tub. Apply a fresh bead of a high-quality, mildew-resistant silicone caulk around the base where it meets the tub to prevent water from seeping underneath. Tighten the mounting nuts securely. The final moment of truth arrives when you slowly turn the water supply back on fully. Open the handles and check for leaks at every point: the spout, the handles, and the connections under the tub. Let the water run for a few minutes to ensure everything is sealed and functioning correctly.
Updating your clawfoot tub faucet is far more than a mere repair; it is an act of preservation that connects you to the craftsmanship of a bygone era. By choosing thoughtful restoration over simple replacement, you have not only solved functional problems like leaks and dripping but have also actively safeguarded the historical integrity and vintage charm of your home. The journey from diagnosis and disassembly through cleaning, repair, and the careful restoration of the finish culminates in a result that is both deeply satisfying and profoundly respectful of the past. You are now left with a beautiful, fully functional centerpiece - a perfect synthesis of timeless aesthetics and modern reliability. Step back and enjoy the pleasure of a job done right, knowing you have preserved a piece of history for generations to come.