H2Osolutions FL I Plumbing Services | Best Miami Plumber
 +1 (786) 627-94-72
H2Osolutions FL I Plumbing Services | Best Miami Plumber
+1 (786) 627-94-72
Before you break the seal on a $600 unit, you need to determine if your home's design supports a manual integration.
In our region, water carries heavy loads of calcium and magnesium ions. When this water enters your water heater, these minerals undergo a thermal reaction, precipitating into "limescale"—a rock-hard mineral crust. This scale acts as a thermal insulator; instead of heating the water, your heating elements must first heat the layer of rock surrounding them.
The data on efficiency loss is staggering. A scale layer of just 0.6 mm can force a water heater to work 15-20% harder, reducing overall heating efficiency by up to 60% [3]. Over a 15-year period, a water heater's efficiency can plummet by 48% due to mineral accumulation, with every 1 mm of scale resulting in a 10% increase in energy consumption [3]. By installing an ion-exchange system, you aren't just "softening" water; you are restoring the design-spec efficiency of your entire appliance suite.
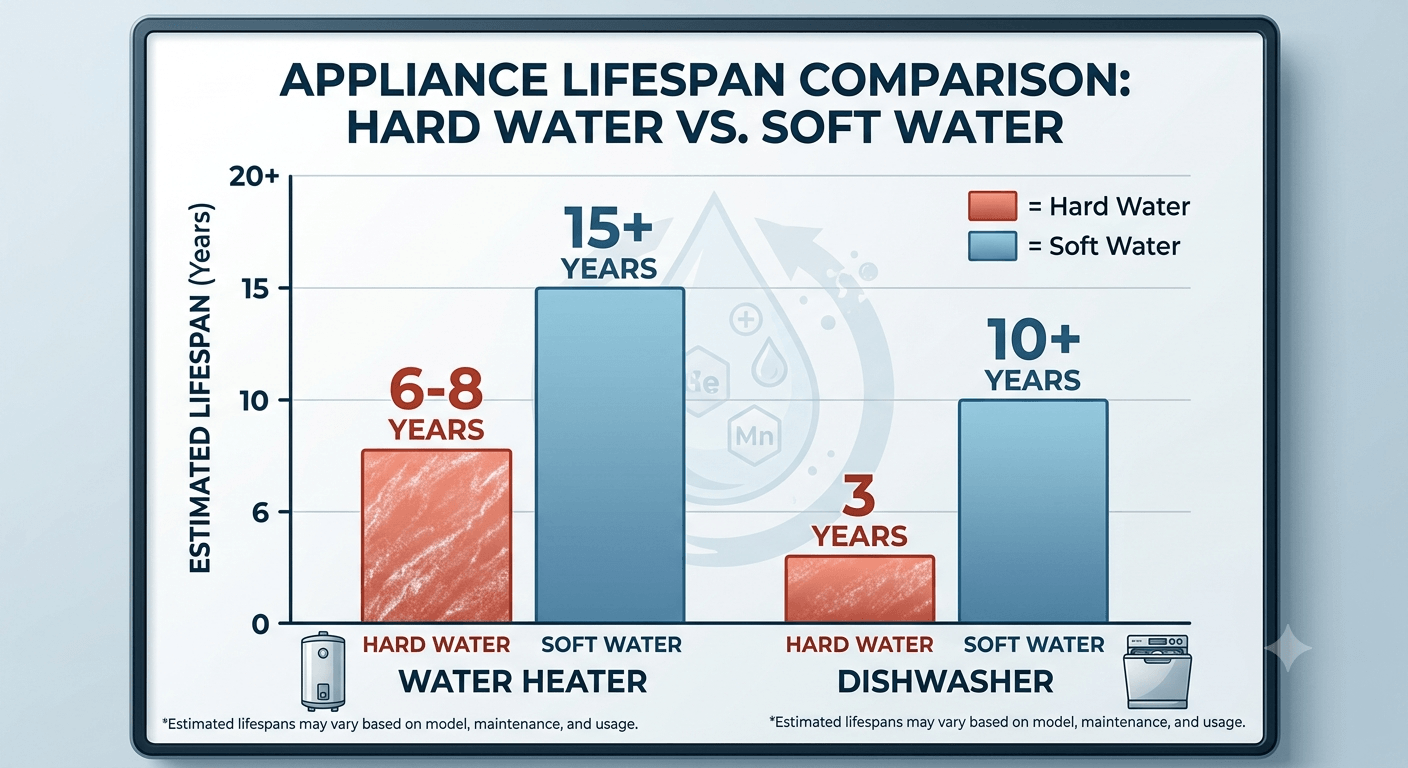
Infrastructure Longevity: How mineral-free water doubles the ROI on your household appliances.
Installing an undersized unit leads to "hardness leakage" and premature resin exhaustion. To size your system, you must calculate the Daily Grains of Hardness (DGH).
1. Find your Hardness: If your water report shows Parts Per Million (PPM), divide by 17.1 to get Grains Per Gallon (GPG) [2].
2. Calculate Daily Load: (Number of people in house) × (75 gallons per day) × (GPG).
3. Capacity Goal: Choose a unit that can handle 3-4 days of load before requiring a regeneration cycle. For a family of four in a 15 GPG area, a 32,000-grain unit is the absolute minimum; a 48,000-grain unit is the engineered preference for efficiency.
Precision plumbing requires the right interface. While old-school soldering is an option, modern systems favor "push-to-connect" fittings (removable connectors that seal with an internal O-ring) or stainless steel flex connectors.
Required Tools:
Engineering Checklist (Materials):
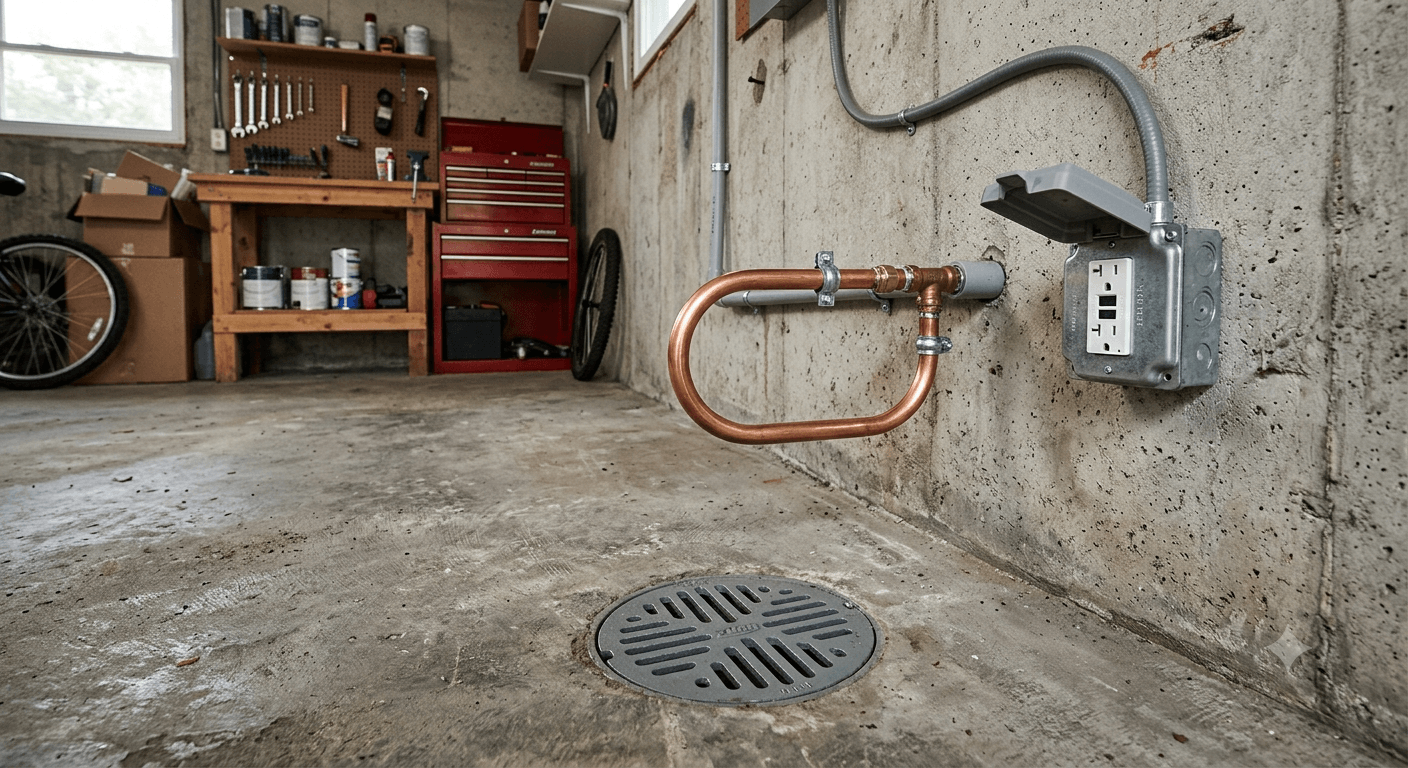
The Ideal Setup: A pre-plumbed loop with integrated power and drainage—the baseline for a 60-minute DIY installation.
The most common failure point in DIY installations is "reversed polarity"—connecting the house inlet to the softener outlet. If water flows backward through the unit, it can lift the resin bed and flush thousands of tiny plastic beads (resin) into your home's pipes, clogging every faucet aerator and showerhead.
Do not trust the orientation of the pipes in the wall. Use the Bucket Test:
1. Shut off the main water valve.
2. Cut the loop or remove the caps.
3. Hold a bucket over one pipe and have an assistant crack the main valve for two seconds.
4. The pipe that pressurized is your Inlet. Mark it immediately.

Flow Logic: Always verify the 'In' and 'Out' ports. Reversing this connection is a $2,000 mistake.
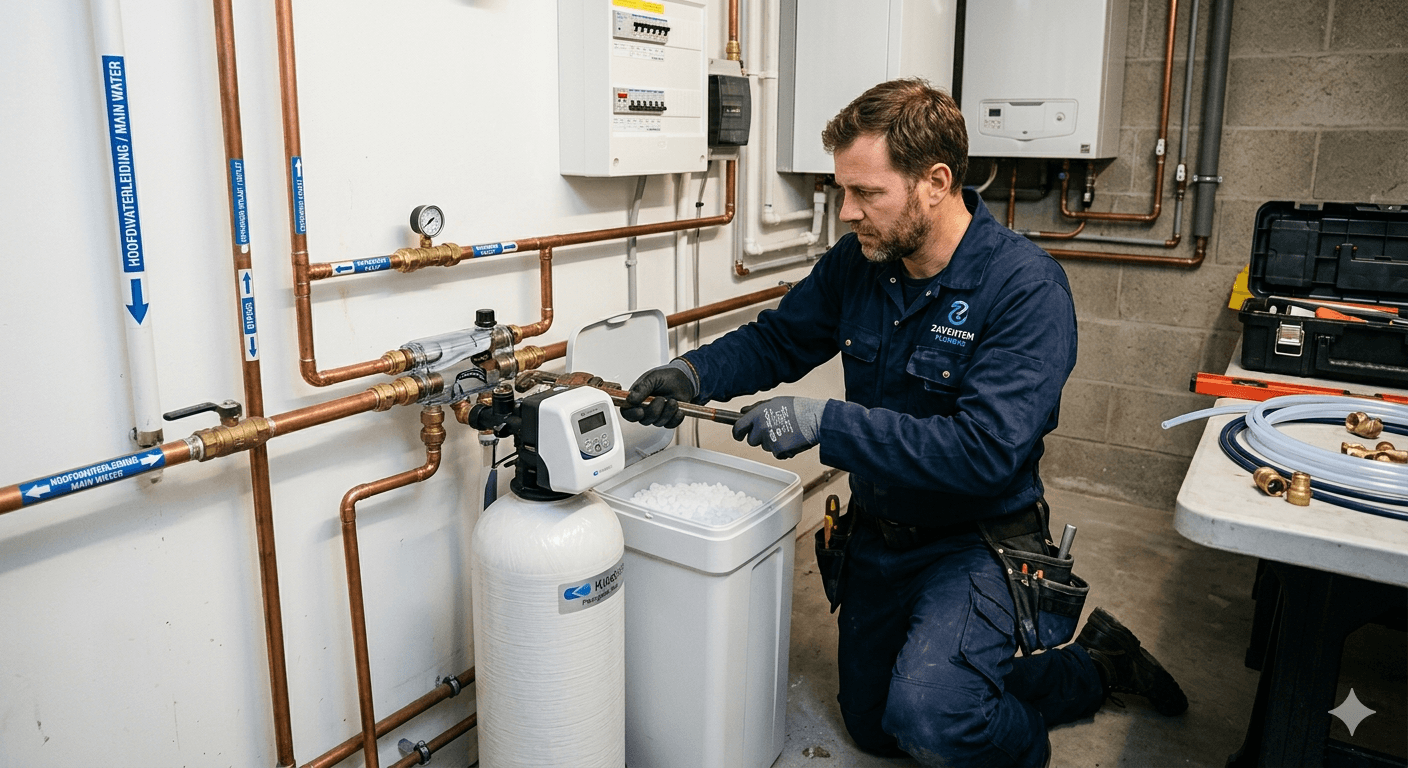
1. Preparation: Unbox the unit and verify the distributor tube is centered in the resin tank. If the unit is a "two-tank" system, connect the brine line (the small tube) between the salt tank and the control valve.
2. Isolate the System: Shut off the main water and de-energize the water heater. A vacuum can form if you drain the pipes, potentially damaging a powered-on heating element.
3. Clean the Interface: Cut the loop squarely. Use a deburring tool to remove internal and external burrs; a single copper shard can slice an O-ring and cause a slow-motion leak.
4. Seat the Bypass Valve: Lubricate the O-rings with silicone grease. Install the bypass valve onto the control head and secure it with the provided clips.
5. Plumb the Lines: Connect your "Inlet" pipe to the "In" port and the "Outlet" to the "Out" port using your flex hoses.
6. Torque the Connections: Hand-tighten the flex connectors, then apply a 1/4 turn with a wrench. Plastic threads on control valves are susceptible to stress cracking from over-torque.
7. Drainage: Connect the drain line to the valve head. Route it to your drain using the "Air Gap Rule."
The drain line carries concentrated brine. Under no circumstances should this be "hard-plumbed" (directly connected) to a sewer line. If the sewer backs up, the pressure could force raw sewage back into your water softener.
To prevent this, you must maintain an Air Gap. This is a physical 1-inch (25.4 mm) vertical space between the end of the softener drain line and the rim of the floor drain or standpipe [4]. This ensures that if the drain overflows, the effluent spills onto the floor rather than being siphoned into your drinking water.
When you are ready to pressurize, do it slowly. Rapid pressurization can cause a "water hammer"—a hydraulic shockwave that can rupture joints.
1. Open a bathtub faucet to vent air.
2. Slowly rotate the bypass valve to the "Service" position.
3. Check for leaks at the O-rings and threaded joints.
4. Programming: Input your hardness in GPG. Set your salt dosage between 100-180g per liter of resin to ensure a full chemical recharge [5].
5. Manual Regeneration: Initiate a manual cycle immediately to rinse the resin and verify the brine draw.
| Symptom | Root Cause | Engineering Fix |
|---|---|---|
| Salt Bridge | High humidity (typical in FL) causing salt to crust. | Break the bridge; maintain salt level at 1/3 tank capacity. |
| Resin Loss | High water temperature (over 120°F) or reversed flow. | Check check-valve on water heater; verify flow direction [5]. |
| Spots on Glass | Incorrect hardness setting or salt depletion. | Recalibrate GPG; check salt levels. |
By following these engineering protocols, you have moved beyond "home improvement" into "infrastructure management." You've successfully mitigated the primary cause of appliance failure in South Florida.
However, remember the engineer's creed: know the limits of the system. If you encountered a complex manifold or a lack of drainage during your audit, do not "wing it." A single backflow incident or a ruptured main line can cause five-figure structural damage. If the baseline requirements aren't met, contact a licensed professional to perform the heavy plumbing. Your home's longevity depends on the precision of the install, not just the quality of the unit.
[1] NIST: History of Plumbing Codes and Standards — https://nist.gov
[2] Water Softener Installation Costs and PPM Conversion — https://kitchenwatertap.com
[3] Impact of Limescale on Appliance Efficiency — https://gydrost.ru
[4] IAPMO/ICC: Plumbing Pipe Standards and Air Gap Requirements — https://iccsafe.org
[5] Ion Exchange Resin Temperature Limits and Salt Standards — https://waters.com.ua
[6] WQA White Paper: Water Softeners and Septic Systems — https://wqa.org
.png)