H2Osolutions FL I Plumbing Services | Best Miami Plumber
 (786) 627-94-72
H2Osolutions FL I Plumbing Services | Best Miami Plumber
(786) 627-94-72

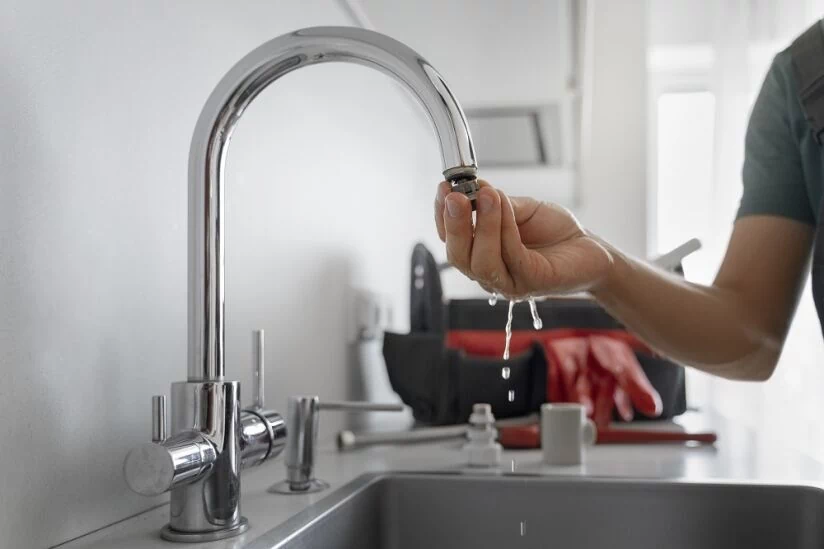
Your outdoor faucet, or hose bibb, is a workhorse of your home's exterior, essential for everything from watering the garden to washing the car. But when it fails, it can lead to wasted water, water damage, and even costly repairs from freezing. While a simple drip might be fixed with a new washer, there comes a time when a full faucet replacement is the only smart solution. This guide will walk you through the entire process, from diagnosis to installation, empowering you to tackle this DIY project with confidence and ensure your new faucet is built to last.
Knowing when to repair and when to replace is the first step. While a leaking handle often indicates a replaceable washer, certain symptoms point to a more serious issue that requires a full faucet replacement.
If your faucet is leaking from the spout even when fully closed, the issue could be a worn washer. However, if you see water streaming from the faucet body itself, especially from visible cracks or severe corrosion, a repair is not feasible. Another clear sign is if the handle turns endlessly without changing the water flow, indicating broken internal mechanisms. Similarly, if the faucet is so corroded that the handle is seized and won't budge, attempting forceful repair can break the pipe inside the wall, turning a simple job into a major one. In these cases, replacing the outdoor faucet is the most reliable and safe course of action.
If your faucet was not properly winterized and has frozen in the past, it may have sustained hidden damage. When water freezes inside a standard spigot, it expands and can crack the metal body or internal parts. This might not be immediately obvious until you turn the water on in the spring and discover a major leak. If you suspect freezing damage, replacement is non-negotiable. This is also the perfect opportunity to upgrade to a frost-free sillcock, which is designed to prevent this exact problem.
Choosing the right faucet and having the correct tools on hand before you start is crucial for a smooth project. This preparation will save you time and frustration.
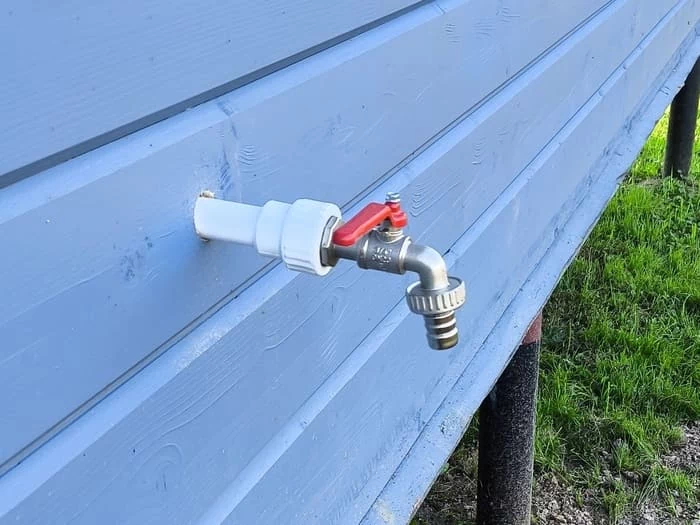
The most critical choice is the type of faucet. A standard hose bibb is simple and inexpensive, but its valve is located close to the spout, making it vulnerable to freezing. A frost-free sillcock is much longer, with the valve seat located inside your warm wall. When installed correctly with a slight downward pitch, water drains out of the long shank when turned off, eliminating water in the freezing zone. For almost all climates with cold winters, a frost-free faucet is the superior choice for freeze resistance and long-term durability.
Material quality directly impacts durability. Plastic faucets are cheap but can become brittle and crack over time. Chrome-plated zinc is a step up but can corrode. For the best performance, choose a faucet made of heavy-duty brass or stainless steel. These materials are highly resistant to corrosion and can withstand years of use. The initial cost is higher, but the investment pays off in reliability.
Gather these tools and materials before you begin:
Safety first! Never attempt to remove a faucet before shutting off and draining the water supply to it. Failure to do so will result in a flood.
Most modern homes have a dedicated shutoff valve for each outdoor faucet, typically located in the basement or crawlspace on the wall nearest the faucet. Turn this valve clockwise until it stops. If there is no dedicated valve, you may need to turn off the main water supply to the house. Open a few indoor faucets on lower floors to relieve system pressure.
After shutting off the water, go outside and open the outdoor faucet handle fully. This allows any remaining water in the short section of pipe between the shutoff and the faucet to drain out. You should only see a trickle of water. Leave the handle open throughout the repair process. For a frost-free sillcock replacement, this draining step is what makes the technology work, so it's a critical habit to learn.
With the water off, you can now focus on removing the old faucet. This is often the most challenging part of the project.
The faucet is connected to the water pipe via a threaded connection. Years of exposure can cause these threads to seize due to corrosion. Use your adjustable wrench to grip the mounting nut of the faucet and another wrench on the pipe inside (if accessible) to prevent it from twisting. If it won't budge, apply a penetrating oil like Liquid Wrench to the connection and let it sit for 15-30 minutes. Then, try again with steady, firm pressure. Avoid excessive force that could shear the pipe.

If the pipe behind the wall twists or shows signs of corrosion and damage, stop immediately. You may have discovered the reason for the faucet failure. At this point, the project may require cutting the pipe and installing a new section, which could involve soldering a new fitting. If you are not comfortable with these advanced plumbing techniques, this is a clear sign to call a professional plumber.
With the old faucet removed, clean the pipe threads with a wire brush. Now you're ready to install the new one, ensuring a perfect, leak-free seal.
Proper thread sealing is essential. For threaded connections, wrap thread seal tape clockwise around the male threads (about 5-6 wraps), ensuring you don't cover the thread openings. Alternatively, or in addition, you can apply a layer of thread sealant paste over the tape or directly on the threads. This combination ensures a watertight seal and also lubricates the connection, making future removal easier.
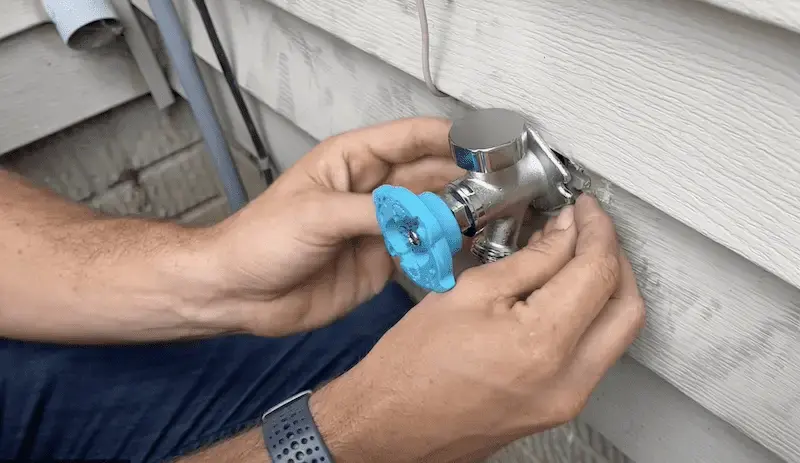
Carefully screw the new frost-free sillcock onto the pipe by hand to avoid cross-threading. Then, use your wrench to tighten it firmly, but be careful not to overtighten, which can damage the threads. Ensure the faucet is oriented correctly (handle upright) and has the slight downward pitch necessary for proper drainage. Once secure, you can carefully turn the dedicated shutoff valve back on, but do not open the new faucet yet.
The final phase involves checking your work and adding protective touches for long-term performance.
Slowly turn the water supply back on. Before opening the new faucet, closely inspect the new connection you just made for any sign of a leak. If it's dry, slowly open the faucet handle. Let the water run for a minute to flush out any debris. Then, turn it off and check the connection again. Monitor it for several minutes. A small drip might just need a slight tightening, but a steady stream means the thread sealing may have failed and needs to be redone.
Once you've confirmed there are no leaks, apply a bead of silicone caulk around the faucet's flange where it meets the siding. This prevents insects and moisture from getting into the wall. For added freeze protection, especially in very cold climates, consider installing an **insulating faucet cover over the faucet during the winter months. This simple step provides an extra layer of security.
Congratulations! By following this guide, you have successfully completed a key DIY home maintenance task. You've not only solved an immediate problem but also invested in the long-term health of your home by potentially upgrading to a more durable and freeze-resistant faucet. However, it's crucial to recognize your limits. If during removing the old faucet you discovered significant pipe corrosion or damage inside the wall, or if the plumbing requires soldering skills you don't possess, hiring a professional plumber is the wisest decision. They have the expertise to handle complex issues, ensuring the job is done safely and to code compliance. Knowing when to call a pro is a hallmark of a savvy homeowner, protecting your investment and giving you peace of mind.